Into The Hive Controls Guide
Movement, combat, turrets, terrain breaks, and first-person versus third-person tips for PC and mobile.
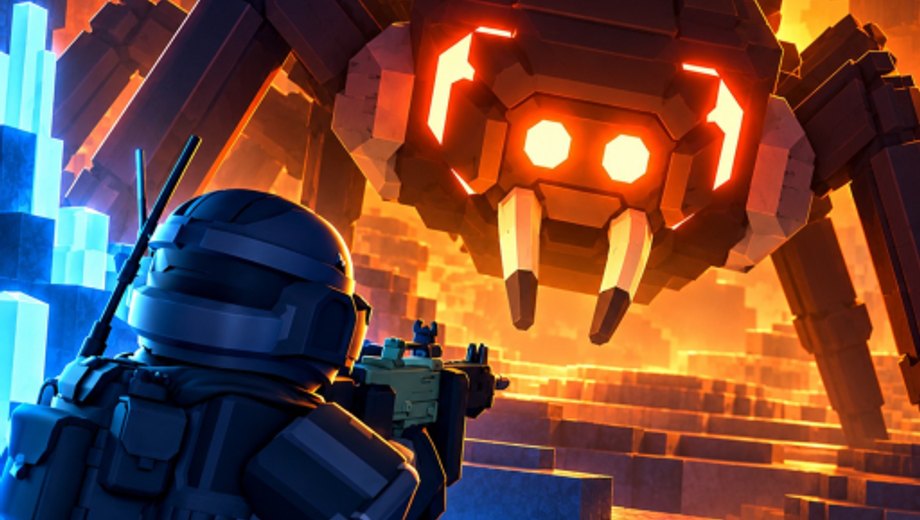
Clean inputs win more Into The Hive runs than raw aim alone. This controls overview covers movement, shooting, tools, turret deployment, destructible terrain, and the game’s standout FPS and TPS camera switching—with practical notes for Roblox PC and mobile players. Exact on-screen prompts can vary by device and patch, so treat in-game labels as the final authority and use this page for habits that transfer across layouts.
New players should finish Getting Started in parallel so Shop unlocks and loadout buys match the binds you are practicing.
Movement fundamentals
On PC, expect standard Roblox shooter movement: WASD to walk, mouse to look, jump for short elevation changes, and sprint when your layout allows it for crossing open cave floors. Stay unpredictable in long corridors, but do not sprint blindly into unknown rooms—insect packs and ceiling angles punish unscoped peeks.
On mobile, use the virtual thumbstick for movement and swipe or the look control for camera. Keep UI scale readable so fire, deploy, and interact buttons do not overlap under stress. If your thumbs fight the HUD during swarm spikes, simplify: movement on one thumb, fire on the other, and place utility only when you are behind cover.
Across both platforms, move with purpose toward objectives rather than touring every tunnel. Random caves reward efficient pathing. Pair this mindset with How to Extract so you are not still wandering when the leave window opens.
Shooting and combat inputs
Combat in Into The Hive is built around clearing insect swarms while you push a mission. Practical habits beat memorizing every optional bind:
- Fire in controlled bursts when targets are distant or clustered near teammates
- Reload behind cover or while a sentry holds a lane
- Prioritize threats that cut your route to the objective or extract
- Avoid dumping a full magazine into a single weak crawler when a nest still needs focus fire
If your platform supports aim-down-sights or a precision mode, use it for nest damage phases and save hip fire for close panic clears. When unsure which weapon to bring, review spend advice on the Tier List Hub after you feel recoil and cave spacing.
Tools, throwables, and utility
Utility exists to buy time and reshape fights. Throwables help when packs stack in a choke or when you need a second of breathing room to reload. Do not hoard every throwable until the wipe screen. The best throw is the one that lets your squad finish the nest or reach extract.
Interact prompts on Roblox typically use E on PC and an on-screen interact button on mobile. Stand close enough for the prompt before you spam the key. If nothing happens, you are out of range, already in a menu, or looking at the wrong surface.
Deploying turrets
Deployable turrets are central to Into The Hive’s identity. Learn the deploy control in a quiet lobby moment, then practice placement rules that matter in caves:
- Place before you break a loud wall, not after the swarm is already on you
- Aim coverage at the lane you cannot personally watch
- Use turrets to hold nest-room entries while the squad focuses the objective
- Reposition mentally after major layout changes—old coverage may no longer matter
Solo players should treat turret deploy as a high-priority bind. Without teammates, your sentry is rear guard and choke control. Squads can assign a dedicated cover player; see Squad Roles for how that duty fits a four-stack.
Breaking destructible terrain
Destructible terrain lets you carve routes, open flanks, and escape dead-end corridors. That power is also a noise and exposure tax. Before you break a wall:
- Confirm the squad is ready for whatever is on the other side
- Place or face a turret toward the breach if you expect contact
- Have a plan to fall back if the new opening floods with insects
- Break walls that shorten objective or extract routes, not walls that only create curiosity paths
During Destroy the Nest pushes, a smart breach can create a better damage angle on the objective. During extract, a smart breach can bypass a flooded hallway. A random breach in the middle of nowhere mostly feeds the swarm more angles on you.
FPS and TPS camera switching
Camera flexibility is a notable Into The Hive feature. First-person (FPS) and third-person (TPS) each solve different problems:
Use FPS when:
- You need precise shots on a nest or a single priority target
- Corridors are tight and hip fire feels floaty
- You are holding a hard angle and peripheral loss is acceptable
Use TPS when:
- You enter tall chambers where ceiling threats matter
- You are moving as a squad and need wider awareness
- You are scouting a breach before committing the whole team
- Extract routes feel ambiguous and you need to read space faster
Practice switching in low-pressure moments. The worst time to discover your camera toggle is mid-swarm with an empty magazine. On mobile, confirm the toggle control is not buried under other UI during combat. On PC, keep the bind reachable without leaving WASD comfort.
PC versus mobile differences
PC strengths: faster precise aiming, easier simultaneous move-and-look, typically clearer bind access for deploy and interact. Lean into FPS for nest damage if your mouse control is strong, and flip to TPS when the room height spikes.
Mobile strengths: always-on touch UI can make deploy and fire obvious once you customize layout. Weaknesses show up when too many buttons overlap. Prioritize a clean layout: move, look, fire, deploy, interact. If you cannot reliably place a turret under pressure, fix HUD placement before blaming the swarm.
Both platforms share Roblox networking realities. If input feels delayed, simplify actions: plant a turret, hold a corner, then re-engage. Panic tapping every button rarely recovers a laggy fight.
Settings habits that support controls
- Sensitivity high enough to check ceilings quickly, low enough to track a nest target
- Graphics settings that keep enemy silhouettes readable in dark caves
- Audio cues enabled when available so flanking insects are not purely visual
- Party chat or Roblox voice alternatives sorted before a serious four-stack attempt
Controls are not only keybinds. They are the loop of see threat, choose camera, fire or utility, reposition.
Drill routine for new players
Spend one short session doing only this:
- Walk a cave while switching FPS and TPS every few rooms
- Deploy a turret at a doorway, then break a nearby wall on purpose
- Fight a pack while reloading behind the turret’s coverage
- Call an artificial extract and practice leaving without spraying every insect
Then jump into a real dive using How to Extract as your leave plan. Return to the Guides Hub whenever a patch changes tools or camera behavior.
Master movement, respect deploy timing, break terrain with intent, and switch cameras on purpose. Those four habits carry more runs than any single gun skin.
Frequently Asked Questions
Quick answers for hive runs, codes, and loadouts.
Can I switch between first-person and third-person in Into The Hive?
Yes. FPS helps precision; TPS helps awareness—especially for ceiling threats. Practice the toggle before hard nest fights.
What should I learn first: shooting or turret deploy?
Learn both, but prioritize reliable turret deploy for solos and objective holds. A sentry covers lanes while you reload or breach.
When should I break walls?
Break terrain to create safer angles or shorter routes when the squad is ready. Avoid random breaches that open extra swarm paths.
Do PC and mobile use the same strategies?
Core habits match. PC favors precise FPS nest damage; mobile players should clean HUD layouts so deploy and fire stay reachable.
Where do controls fit with extraction guides?
Use this page for inputs, How to Extract for leave timing, and Destroy the Nest for objective focus under swarm pressure.