Into The Hive Squad Roles
Point/breach, turret cover, objective focus, and rear guard — plus how to cover every seat when you play solo.
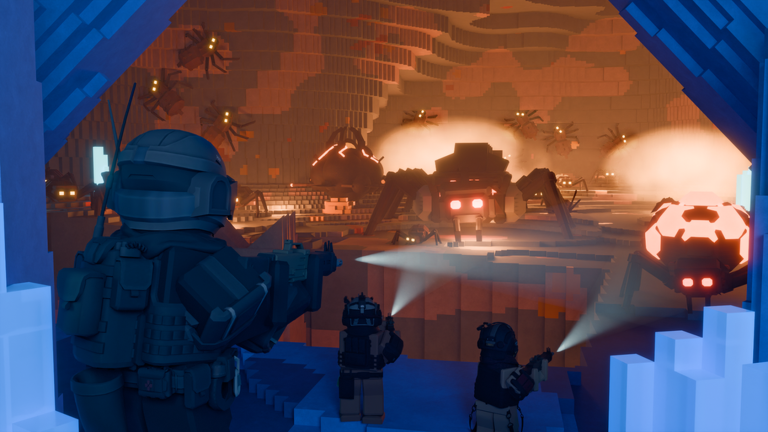
A four-player Into The Hive lobby without jobs is just four people sharing one panic. This page recommends practical squad roles for the Roblox co-op PvE extraction shooter from To The Earth’s Core: point/breach, turret cover, objective carrier (focus), and rear guard. Adapt the same seats for duos and trios, then compress them into solo habits when you dive alone.
Pair this page with the Players Hub overview and the mechanical tutorials on Guides Hub. Roles decide who acts; guides decide how the action works.
Role 1 — Point / Breach
Job: Lead movement into unknown rooms, choose when to break destructible terrain, and create the first safe angle for the squad.
Do:
- Scout with third-person in tall chambers, then call the breach
- Break walls that shorten the route or open a useful nest angle
- Wait for turret cover before loud openings whenever possible
- Be first to re-stack after a reset instead of solo hero pushing
Do not:
- Break every wall because you can
- Sprint so far ahead that sentries and teammates cannot support you
- Ignore ceiling checks while staring at the next doorway
Gear fit: Controllable primary gun, confidence with terrain-break timing from Controls, and enough health awareness to survive first contact.
Role 2 — Turret Cover
Job: Deploy sentries that protect chokes, breach backs, and nest-room entries so teammates can reload and focus fire.
Do:
- Place before the loud moment, not after the swarm arrives
- Cover the lane the point player is not facing
- Call when a turret is down or wasted on a dead angle
- Carry at least one throwable for emergency peel when the sentry is overwhelmed
Do not:
- Plant turrets that mainly shoot into friendly traffic in tiny corridors
- Forget to bring a new plan after the team rotates to extract
- Treat cover duty as AFK watching — you still shoot and peel
Gear fit: Reliable sentry choices and Augments that support uptime. Spend Equipment Tokens with extract-friendly tools in mind after checking Codes and the Tier List Hub.
Role 3 — Objective Carrier / Focus
Job: Keep damage on the nest or mission objective during the commit window. In Into The Hive terms this is less “carry an item” and more “carry the objective progress” so the fight ends before swarms snowball.
Do:
- Stack with the team before the damage phase
- Dump controlled fire into the nest when cover calls the window
- Swap to peel only when a teammate is genuinely about to drop
- Announce magazine state so the squad does not discover dry guns at extract
Do not:
- Wander for side packs while the nest is available
- Silence-fail the commit because you are looting a corner
- Empty everything before the leave path is real
Gear fit: Stable damage primary and discipline from Destroy the Nest. Objective focus without an extract plan still wipes — finish with How to Extract.
Role 4 — Rear Guard
Job: Watch the back line and vertical angles while the squad faces the objective or extract marker.
Do:
- Sweep ceilings on a rhythm, especially during reloads
- Call “above” and “behind” early
- Hold the previous doorway when the team pushes a breach
- Stay close enough to be revived and to revive, far enough to see flanks
Do not:
- AFK at the back of the cave out of useful gun range
- Chase one fleeing insect into a side tunnel alone
- Forget to rotate when extract is called — rear guard still leaves with the squad
Gear fit: Awareness-first play, comfort switching TPS for scans and FPS for clean shots, and patience. This seat saves more runs than highlight clips.
Duo and trio mappings
Duo: Player A = point/breach + objective focus. Player B = turret cover + rear guard. Swap hats if one player is stronger at nest damage.
Trio: Player A = point/breach. Player B = turret cover. Player C = objective focus with secondary rear checks. All three still sweep ceilings.
Four-stack: Use all four seats literally. If someone hates rear guard, rotate the seat each dive so one player is not stuck forever—but never leave the seat empty.
Solo adaptations
Solo Into The Hive is every role on a timer:
- Turret cover first — place before breaches and before nest commits
- Short point moves — clear only what blocks the objective path
- Burst objective focus — damage in cycles between peels
- Self rear guard — TPS scans and ceiling checks between cycles
- Earlier extract — you have no revive chain; leave as soon as the mission is done
Solo players should over-invest in sentry habits and under-invest in sightseeing. The Getting Started loadout advice still applies: buy a gun you trust, then make sure you can deploy cover under stress.
Lobby script before you drop
Spend thirty seconds in the lobby:
- Assign the four seats (or duo/trio mapping)
- Confirm who calls extract
- Confirm who breaks the first wall near the nest
- Confirm camera comfort — someone must be willing to TPS-scan tall rooms
- Redeem any new codes and finalize Augments before queue
Then play the plan. Mid-cave role arguments are how nests get longer and extracts get messier.
Failure patterns by missing role
- No point/breach: team stalls in bad funnels and burns ammo on the approach
- No turret cover: every reload becomes a crisis
- No objective focus: swarm clock wins while everyone peels forever
- No rear guard: ceiling and backline hits delete players who thought they were safe
Review wipes by asking which seat failed, not only which gun underperformed.
Practice plan for a week of squads
- Dive 1–2: lock roles, no mid-run swaps unless someone disconnects
- Dive 3–4: rotate rear guard so everyone learns ceiling discipline
- Dive 5: attempt a cleaner extract using the checklist on How to Extract
- After each session: one sentence note per player — “need earlier turret,” “stopped breaking random walls,” “called extract on time”
Return to the Players Hub when you add new teammates, and revisit Destroy the Nest when objective windows still collapse.
Assign jobs, spend tokens to support those jobs, and measure greatness in clean extracts. That is the Into The Hive squad meta that actually travels between random caves.
Frequently Asked Questions
Quick answers for hive runs, codes, and loadouts.
What are the four recommended Into The Hive squad roles?
Point/breach, turret cover, objective focus (carrier), and rear guard. Duos and trios merge those seats; solos rotate through all of them.
Who should deploy turrets?
The turret-cover player owns default placements, but anyone can drop a sentry in an emergency. Solos must treat deploy as a core habit.
What does objective carrier mean in this game?
It means carrying nest or mission progress with focused damage during the commit window, not necessarily hauling a unique item.
How should a duo split roles?
One player handles point/breach plus objective focus; the other handles turret cover plus rear guard. Swap if needed between dives.
What changes for solo players?
Place turrets earlier, breach less, damage in short cycles, scan ceilings yourself, and extract as soon as the objective is complete.
Which guides support these roles?
Use Controls for inputs, Destroy the Nest for objective windows, How to Extract for the leave, and Getting Started for first loadouts and codes.