Into The Hive Weapons Tier List
S–C frameworks for Guns, Sentries, and Throwables—ranked by mission jobs, not rumor charts.
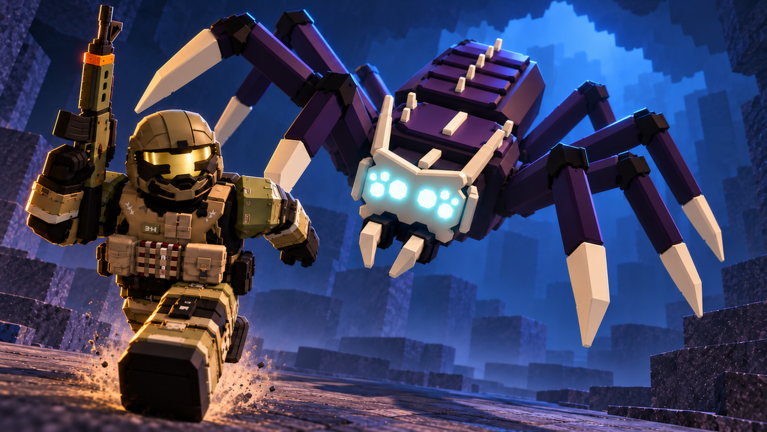
This weapons tier list ranks the three active combat categories in Into The Hive: Guns, Sentries, and Throwables. Exact shop labels shift with patches, so we publish a practical framework you can apply to whatever the Equipment menu shows today. Score every item on swarm clear, wall break, extract defense, ammo efficiency, and solo versus squad value. Cross-check spends with the Tier List Hub, then lock a kit on the loadouts page.
If you are brand new, finish Getting Started and redeem codes before buying. Tokens are limited; a wrong first purchase slows every cave after.
Shared S–C scale
- S — Multi-role winners. Strong in two or more criteria and rarely punish you for bringing them.
- A — Reliable mains. Slightly worse ammo, setup, or solo safety than S, still worth tokens for most runs.
- B — Role tools. Shine on nest pushes, tight corridors, or one squad seat; weaker as a blind first unlock.
- C — Early fillers or novelty. Fine to try after your core gun and sentry are funded.
Meta honesty: when a patch buffs fire rate or turret HP, re-score with the same criteria instead of freezing an old ladder.
Guns tier framework
Guns are always in your hands, so they are the highest priority Equipment Token spend. Rank candidates like this:
S-tier gun profile
High sustained swarm clear, acceptable ammo economy, and enough punch to help crack soft walls or finish wounded elites. Works solo because you are not helpless during sentry cooldowns. If a gun lets you hold a choke during extract without constant panic reloads, it belongs here.
A-tier gun profile
Excellent in one job (pure swarm melt or precise mid-range) with a manageable downside—heavier recoil, slower reload, or hungrier magazines. Great for squad DPS seats described in squad roles. Prefer A over flashy C options when you only have one token.
B-tier gun profile
Specialists: short-range monsters that struggle in long tunnels, or precision tools that punish missed shots when the ceiling drops bugs on you. Bring them when your teammate already covers the weakness.
C-tier gun profile
Starter-adjacent weapons you outgrow quickly, meme spreads, or picks that empty magazines before a nest dies. Use them to learn movement, then replace.
Buy order tip: unlock the best available S/A gun before touching throwables. Your firearm multiplies every other tool.
Sentries tier framework
Sentries (deployable turrets) are the second purchase for most accounts. They print value while you reload, carve terrain, or plant explosives.
S-tier sentry profile
Fast acquire on swarm packs, durable enough to survive a short extract hold, and efficient so you are not babysitting repairs every ten seconds. Place them on high ground or at tunnel mouths so they see insects before insects see your backline.
A-tier sentry profile
Strong damage or strong uptime, but not both. Maybe slow to spool, or fragile if left in the open. Still excellent when a duo player watches flanks while the turret faces the main funnel.
B-tier sentry profile
Niche angles—great for one corridor type, weak when caves open into wide chambers. Useful on destroy nest pushes if you can pre-place before the aggro spike.
C-tier sentry profile
Short lifetime, awkward placement rules, or poor target priority that wastes ammo on already-dying bugs. Unlock after your gun and a solid A/S turret exist.
Placement habits that raise any sentry a half-tier:
- Cover the route you will retreat along, not only the objective.
- Keep line of sight clear of destructible debris you plan to shoot anyway.
- Redeploy after major wall breaks—old angles go dead when the map topology changes.
Throwables tier framework
Throwables are burst tools. They win nest detonations and panic saves, but they do not replace a gun.
S-tier throwable profile
Reliable AoE that softens a nest room or deletes a clump blocking extract, with a fuse or impact behavior you can predict under stress. Ammo count feels fair for a full mission.
A-tier throwable profile
High damage or strong control (slow, reveal, breach) with a learning curve—bounce, friendly fire, or tight timing. Perfect for the dedicated utility seat in a four-stack.
B-tier throwable profile
Situational breaches for wall openings or single-target bursts. Pair with a teammate who already owns swarm clear.
C-tier throwable profile
Low count, awkward arcs, or overlapping jobs your gun already does. Buy last.
On nest objectives, call throws so two players do not waste S-tier explosives on the same pack. Coordinate with squad roles and the push steps in destroy nest.
Solo versus squad scoring
| Job | Solo bias | Squad bias |
|---|---|---|
| Gun | Self-sufficient S/A clear | Can take B specialists |
| Sentry | Durable, simple facing | Fragile high-DPS OK with a guard |
| Throwable | Save for extract emergencies | Pre-planned nest volleys |
Solo runners should almost never skip the sentry. A turret is a second player when matchmaking is empty. Squads should avoid four identical hungry guns—diversity beats mirrored magazines when ammo crates are sparse.
Practical comparison checklist
Before you spend a token, ask:
- Does this raise swarm clear in the average cave, not only in a highlight clip?
- Can it help open a wall when the main tunnel is contested?
- Will it still matter during the sprint described in extract?
- Can I afford the ammo or placement mistakes it invites?
- Does an Augment already exist that would boost my current gun more than a brand-new B-tier toy?
If three answers are no, keep saving.
Linking ranks to loadouts
Translate these profiles into kits on the loadouts page: starter (gun focus), duo (gun + sentry coverage), and full squad (role-split guns, shared sentry umbrella, timed throwables). Buff the finished kit with high-synergy picks from augments.
Patch hygiene
When To The Earth’s Core ships armory changes, re-run one mission per category. If a former S gun starts losing extract holds, demote it. If a B sentry suddenly tanks better, promote it. The framework stays; the labels move. Bookmark this page with the Tier List Hub and refresh after major updates alongside Getting Started notes.
Master the jobs first—swarm, breach, hold, extract—and any new named weapon slots into S, A, B, or C without guesswork.
Frequently Asked Questions
Quick answers for hive runs, codes, and loadouts.
What should I buy first: gun, sentry, or throwable?
Gun first for constant DPS, sentry second for automated cover, throwables after your core loop feels stable. Redeem codes for extra Equipment Tokens when available.
How do I know if a gun is S-tier without a datamine?
Test swarm clear speed, magazine endurance, and extract holds. If it wins two of those and does not strand you solo, treat it as S or high A.
Are sentries worth it in duo queues?
Yes. One player watches the turret flank while the other pushes. Sentries free reloads and make extract chokes far safer.
When should throwables be used on nest objectives?
Pre-aim before the aggro spike, call the throw so teammates do not overlap, then swap back to guns for cleanup. See the destroy nest guide for timing.